How to partition your hard drive properly?
3 min read
Partitioning your hard drive is an excellent way to organize your files, folders and applications on your own virtual disks. While there are advantages of having several physical disks for the same purpose, partitioning a single disk is a viable way of giving your system the functionality of multiple disks with a lot of space on each one, without having to take off, given the increase in the number of hard drives of several terabytes.
If you have just purchased a new unit and want to divide it, you must partition it before you can use it. Whether you are working with a new unit or simply want to partition an existing unit, the process is similar. Fortunately, learning to partition your hard drive in Windows 10 is quick and easy. Following the steps below, you can move from a single unit system to a system with as many virtual drives as you want in just a few steps.
Step 1: Use the Windows search box to search for Disk Management and select Create and format disk partitions in the results area. Alternatively, you can use the main Windows user menu and click on Disk Management.
Step 2: Select the hard drive you want to partition from the list of available drives. If the drive is new, go to step 4. If it is an existing drive with files and even your operating system installed, you will need to create unallocated space before you can partition it. . Right click on it and select “Reduce volume” from the drop-down menu that appears.
Step 3: Your PC will calculate the amount of free space you can allocate to the new partition. When you are finished, you will be asked how much you want to use. If you want to use all the free space on your hard drive, simply click on the Zoom Out button. If you want to specify the partition size, enter it in megabytes in the appropriate field before clicking Reduce.
Step 4: Right click on the unallocated space and select New Simple Volume from the menu that appears.
Step 5: Follow the instructions on the screen and choose the volume size (by default, all unallocated space will be used) and the drive letter.
Step 6: It is advisable to format new and old disks when creating a new partition. When you have the option, choose it. Select NTFS as the file system. The exFAT option is most commonly used for portable devices. You can also add a volume name, name, if you wish. You can keep the default allocation unit size. Choose the quick format if you don’t have much time. A complete format is rarely required.
Step 7: click on the Next buttons and finally on Finish to create the volume. Your hard drive now has a new partition with its own label. You can see it and all the information about it on the Disk Management page.
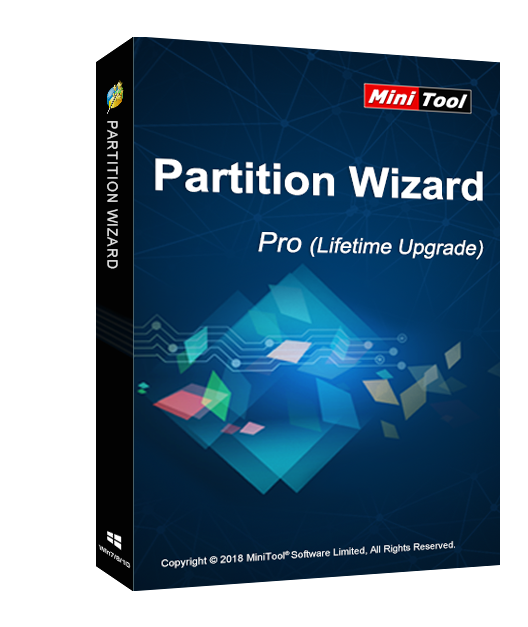
If you prefer to use a specific third-party tool to partition your hard drive in Windows 10, it is worth considering some. We can recommend the mini-tool partition wizard. The Mini Tool partition application is also fully functional in the free version, offering the ability to convert file systems without formatting a disk, and even testing the stability of your hard drive to determine if there are bad sectors.

